To remove shellac, soak cotton pads in acetone and wrap them around your nails. Leave them for about 10 minutes before gently scraping off the polish.
Shellac nail polish has revolutionized the beauty industry with its long-lasting, glossy finish. Yet, the removal process is crucial to maintain nail health. Many prefer the durability of shellac, but it’s not without its challenges—especially when it’s time to take it off.
The key is to do it properly to avoid damaging the natural nail. Regular nail polish removers aren’t typically strong enough to dissolve shellac polish. This is why specialized techniques involving acetone are recommended. Following the correct removal procedure ensures that your nails stay healthy and beautiful, ready for the next manicure.

Credit: m.youtube.com
Introduction To Shellac Removal
Beauty enthusiasts know the allure of a shiny shellac manicure. But what happens when it’s time to bid farewell to the glossy finish? Understanding how to remove shellac safely and effectively is crucial. This guide provides easy-to-follow steps. Let’s dive into the world of shellac removal with the care it deserves.
Initial Considerations
- Determine the type of shellac used on your nails. It sets the stage for a proper removal process.
- Check the condition of your nails. Cracked or weak nails need special care during removal.
- Decide whether you’ll do it yourself or seek professional help.
- Ensure you have all the necessary tools and products ready.
Safety Precautions
| Item | Description |
|---|---|
| Acetone | Use in a well-ventilated area to prevent fume inhalation. |
| Gloves | Opt for protective gloves to guard your skin against drying effects. |
| Eye Protection | Wear safety glasses to shield your eyes from splashes. |
Tools And Materials Needed
Starting a shellac removal session? Great! You’ll need specific tools and materials to do it safely and effectively. Let’s ensure your kit is ready to go.
List Of Essential Items
Collect these items before you begin:
- Nail polish remover with acetone
- Cotton balls or pads
- Foil sheets to wrap your fingers
- A nail file and buffer
- Orange sticks for gentle prodding
- Moisturizing cream or oil to protect your skin
- Towels to keep your space clean
Choosing The Right Products
Picking the best products is key for a smooth process.
| Product Type | Tip |
|---|---|
| Nail Polish Remover | Opt for one with acetone for effective removal. |
| Cotton Balls/Pads | Choose quality ones that won’t leave fluff behind. |
| Foil Sheets | Pre-cut foils save time and ensure a snug fit. |
| Nail File/Buffer | A fine-grit buffer can smooth without harming your nail’s surface. |
| Moisturizer/Oil | Hydration is a must. Go for almond or jojoba oil. |
Pre-removal Preparations
Before diving into the removal of shellac, it’s vital to make sure that you have a clear and protected workspace. This will ensure that the process is smooth and avoids any damage to surrounding areas. The following steps are your roadmap to safe and effective pre-removal preparations.
Cleansing The Area
Begin with a clean slate. Make sure the surface or area you’re working on is free from dirt and grime. Use mild soap and warm water to wipe down the space. A clean area ensures that no additional substances will interfere with the shellac removal.
- Gather cleaning supplies: A soft cloth, mild detergent, and water will work.
- Remove all items from the workspace to prevent contamination.
- Wipe down the area gently until it’s completely clean.
Protecting Surrounding Surfaces
Shellac removal can get messy. Shield nearby surfaces to avoid damage from the removal products or shellac residues. Protective measures are a must to keep your space neat and safe.
- Lay down plastic sheets: Cover the floors and furniture.
- Use painter’s tape to secure the edges of the plastic sheets.
- Wear gloves: Protect your hands from removal agents.

Credit: www.pinterest.com
The Removal Process
Shellac nails offer a high-gloss, durable finish but eventually, it’s time to take them off. Understanding the right technique for shellac removal ensures nails stay healthy and undamaged. This guide will walk through a step-by-step process to remove shellac polish gently and effectively.
Applying The Remover
Start with the right type of remover. Acetone works best for shellac polish. Prepare the nails by lightly buffing the shiny coat. This helps the remover soak through effectively. Soak cotton pads in acetone and secure them on the nails with foil. Wait for about 10 minutes. The shellac polish will start to lift from the nail surface.
Gentle Scraping Techniques
After the soaking time, the shellac should appear to be peeling off. Use a wooden stick or cuticle pusher to gently scrape the polish away. Hold the tool flat against the nail to avoid damaging the nail bed. Use light pressure and take care not to scrape too hard. Removing the shellac should be relatively easy if the nails were prepped and soaked properly. Repeat the soaking with acetone if some stubborn areas won’t budge.
Buffing Away Residue
Once most of the shellac is removed, there may be a few bits left. Use a fine-grit nail buffer to gently buff away any remaining polish. Perform this action lightly to avoid thinning the nail too much. After buffing, wash hands to remove any acetone and buffing dust. Apply a hydrating cuticle oil immediately after to nourish nails and cuticles. Regular moisturizing helps maintain nail health post-removal.
Post-removal Care
Once you’ve successfully removed shellac, it’s essential to show some love to your nails. This care avoids damage and keeps your nails strong and healthy. Let’s dive into the key after-care steps.
Cleaning And Drying
- Gently cleanse your nails with a mild soap to remove any leftover remover or oil.
- Rinse thoroughly with lukewarm water, ensuring all soap residues wash away.
- Pat dry with a soft towel. Avoid rubbing to prevent irritation.
- Ensure complete drying before moving to the next step.
Moisturizing After-care
- Apply cuticle oil generously around the nails. It nourishes and protects.
- Use a good-quality hand cream. Pick one that suits your skin type.
- Massage gently. It boosts circulation and promotes nail growth.
- For intense care, consider overnight treatments with thick lotions or Vaseline.
Regular hydration ensures elasticity and strength in nails after shellac removal.
Troubleshooting Common Issues
Troubleshooting common issues with shellac removal can turn a straightforward task into a tricky one. Sometimes, despite following all the standard steps, you might still face stubborn spots or unclear outcomes. Let’s explore effective solutions and determine when it’s time to seek professional help.
Dealing With Persistent Spots
Stubborn shellac spots refuse to budge on occasion, despite your best efforts. If you’ve soaked your nails and used a gentle push, look for these strategies:
- Reapply acetone-soaked cotton – Give it a few more minutes; sometimes it needs a bit longer.
- Increase soaking time – Patience is key; let the acetone work its magic a little longer.
- Use an orange stick – Gently push under the shellac; be kind to your nail beds.
- Try a nail buffer – Lightly buff the surface; this can loosen up persistent spots.
When To Consult A Professional
In some cases, DIY methods just won’t cut it. Recognize these signs that it’s time to book an appointment:
- Excessive nail damage – If your nails look unhealthy or feel painful, a pro can help.
- Shellac won’t budge – A nail technician has the right tools and techniques for tough cases.
- Repeated failure – Sometimes, the shellac might need a specialized approach only professionals provide.
Don’t hesitate to seek a professional’s care for your nails; their expertise protects your nail health and ensures a successful shellac removal.
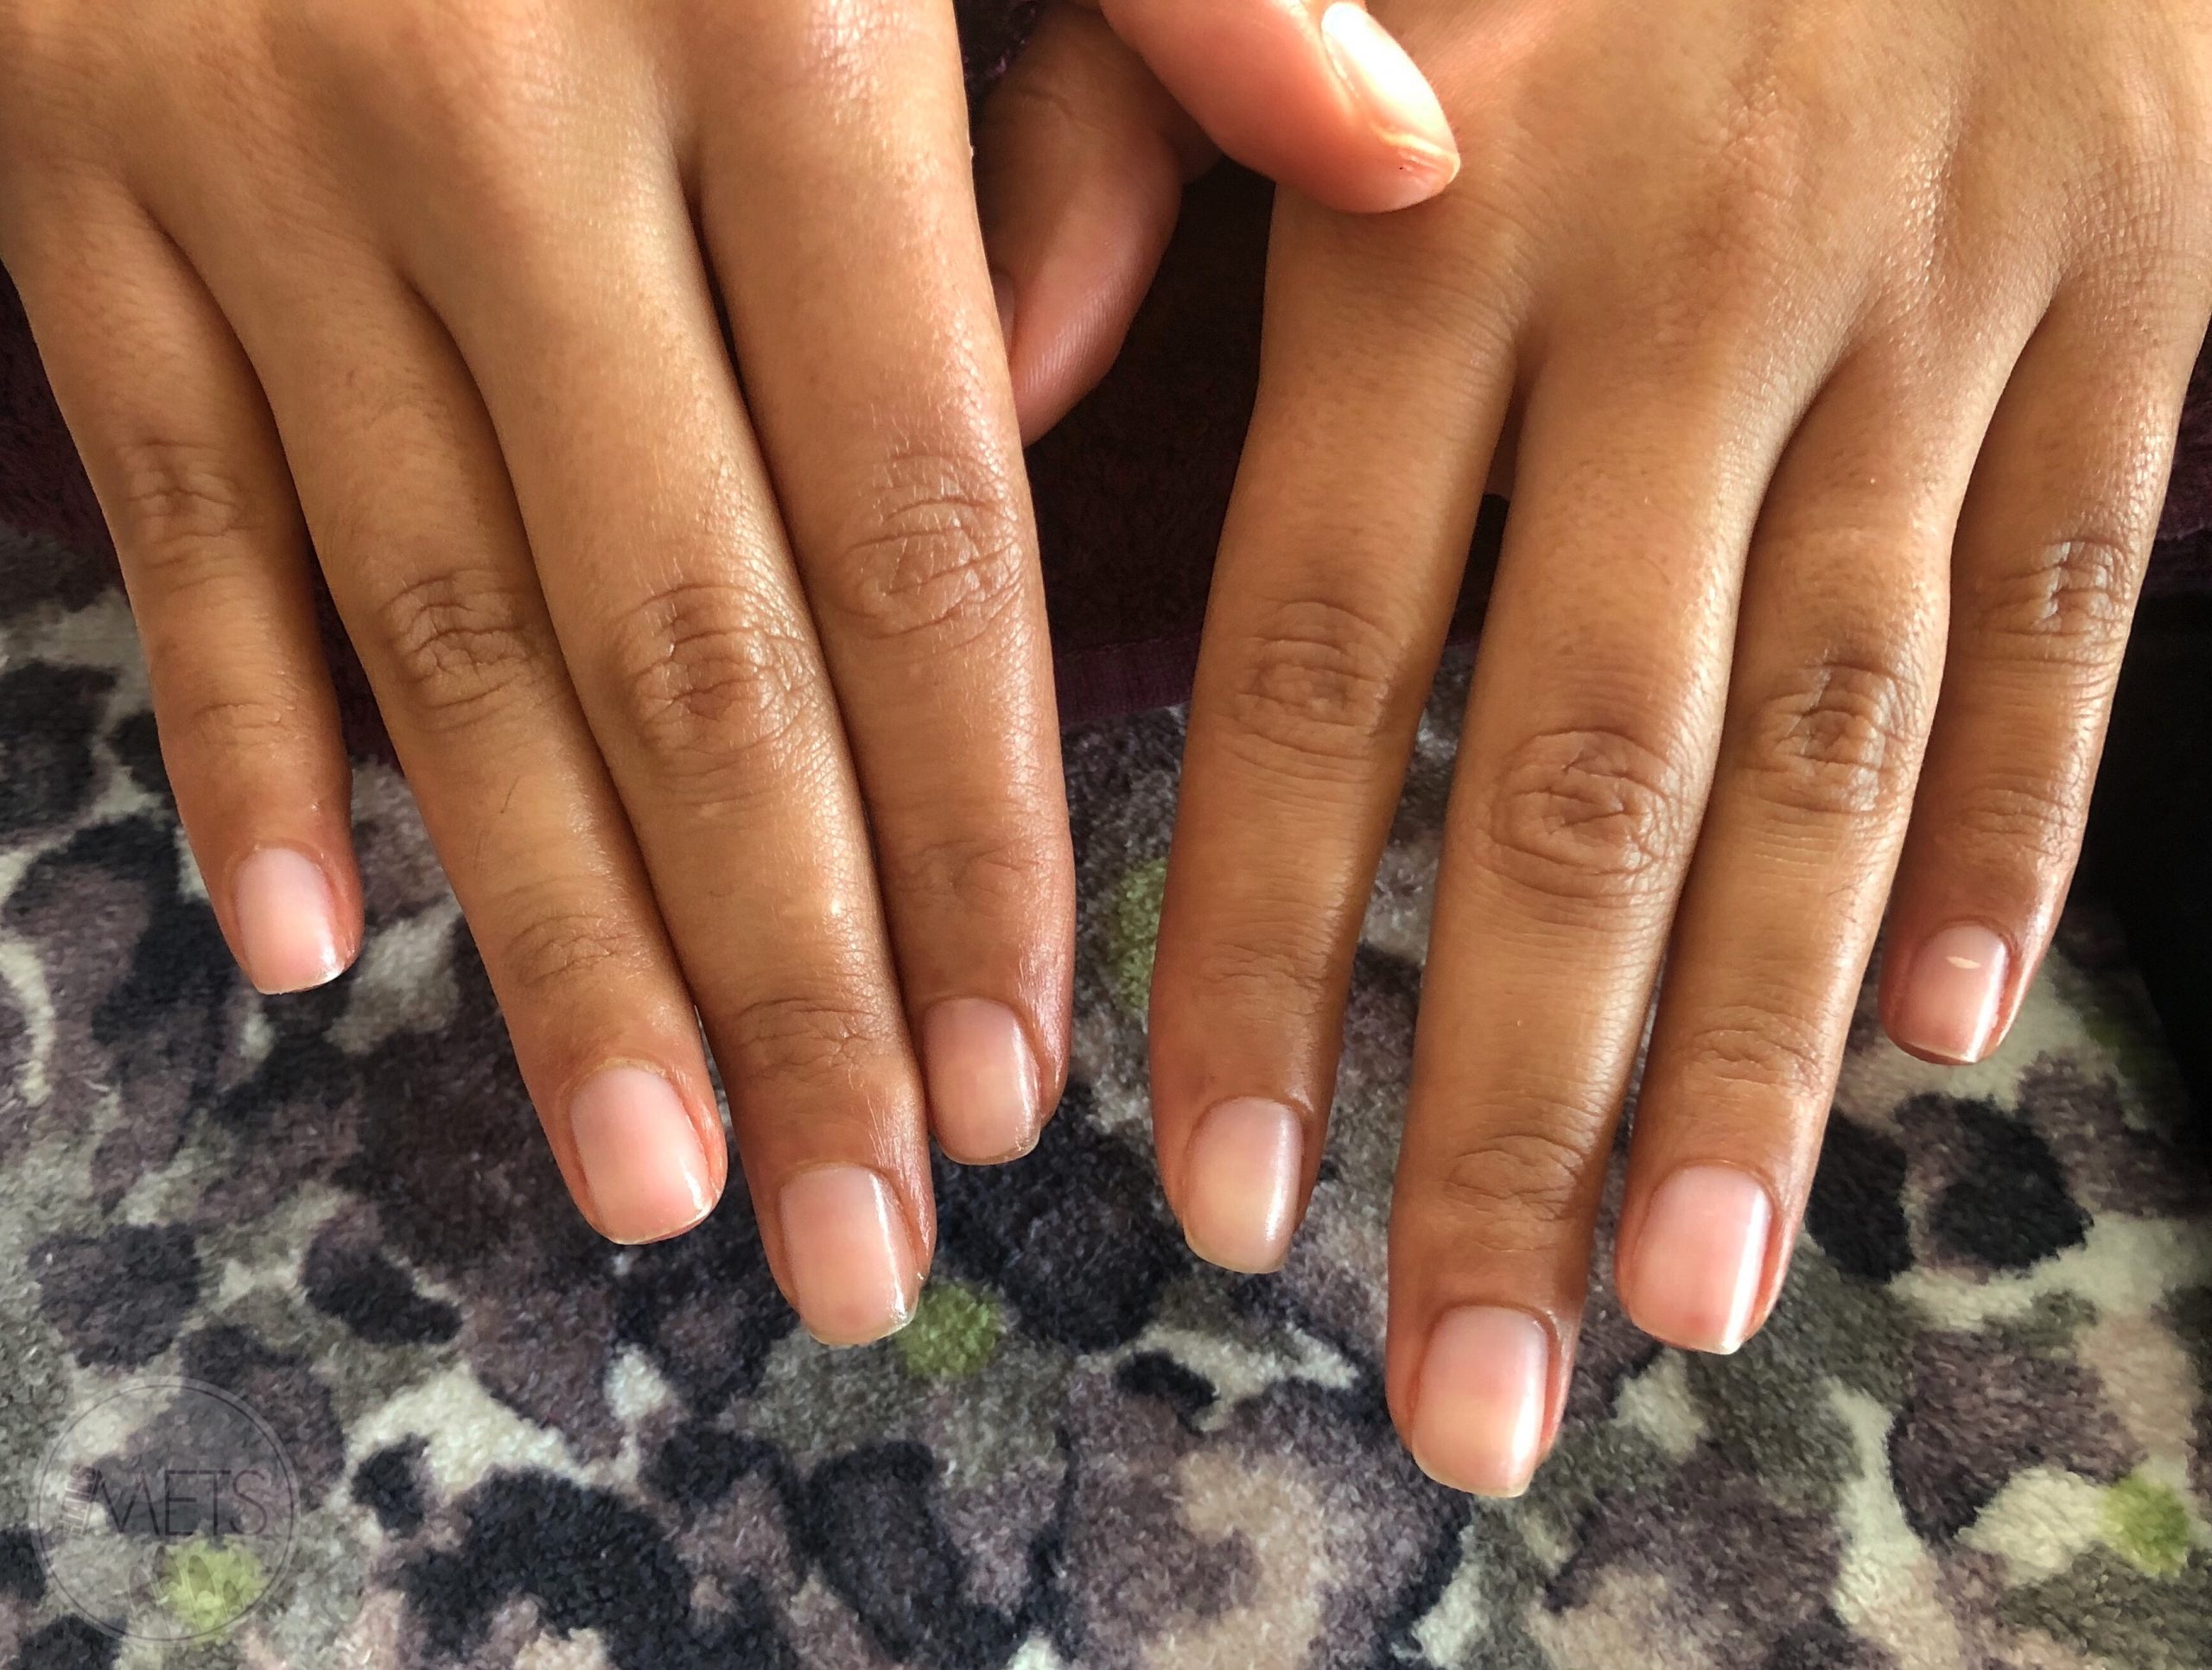
Credit: nailsbymets.com
FAQs of How to Remove Shellac
Can You Remove Shellac Nails At Home?
Yes, you can remove shellac nails at home. Gently file the nail surface, soak cotton balls in acetone, apply them to nails, wrap with foil, and after 10-15 minutes, wipe off the polish.
What Is The Best Thing To Remove Shellac?
Acetone is the best solvent for removing shellac. Soak a cotton pad with acetone and gently rub off the polish.
Can Shellac Come Off With Nail Polish Remover?
Regular nail polish remover may not remove shellac; you’ll need an acetone-based remover for effective shellac removal. Always use it gently to protect your nails.
How Do Professionals Remove Shellac?
Professionals remove shellac by soaking cotton pads in acetone, placing them on nails, and wrapping fingertips in foil. After 10 minutes, they gently scrape off the polish.
Conclusion
Removing shellac from your nails at home can be a breeze with the right tools and techniques. Remember, patience and gentleness are your best allies to avoid nail damage. Whether you opt for the soaking method or prefer the wrapping technique, maintain nail health by following up with proper aftercare.
Say goodbye to outdated shellac and hello to fresh, clean nails ready for your next adventure in style!